TimeDock Sleep Easy
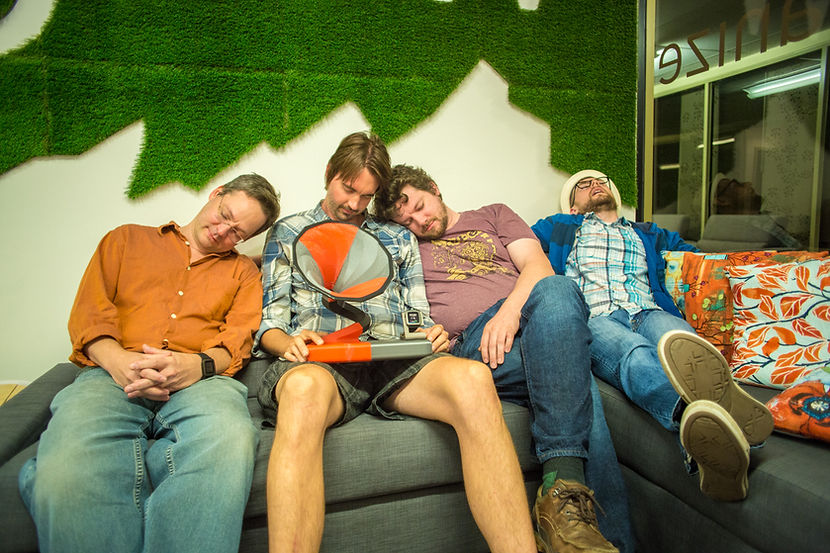
Here’s what the Engineerable team did with the SmartStrap enabled TimeDock at the Pebble Rocks Boulder Hackathon. The Pebble Time does not have a speaker, so we added audio to it with the Sleepeasy, a talking clock/watch powered by the Pebble Time.

Video of TimeDock Team at Pebble Rocks Boulder Hackathon
by Jacob Snowden
Story
Leading up to the Pebble Rocks Boulder Hackathon, we added a serial pass through connector to a few modified TimeDock prototypes for us and other participants to borrow and use. This allows for faster development and debugging of SmartStraps. The more tools you have at a hackathon, the better chance you have of bringing your project to life on time.
TimeDock was developed as a charging station for the Pebble Time and SteelTime , and was a successful Kickstarter campaign. For this hackathon, we wanted to see if we could make TimeDock do more than charging. The TimeDocks that you see in use in this article have been modified to allow connection to the smart strap serial data port on the Pebble Time.

Friday:
We arrived from Atlanta Friday afternoon and ready to get to work, but not without stopping to admire the beauty of Boulder, Colorado.


Our plan was to make an audible notification attachment to the TimeDock using the SmartStrap interface, but we had no idea how to do it in advance. We were sure that we could make it work one way or another.
We picked up our Pebble Time watches and other swag and went to find Jeremy, a programmer who Daniel met in Slack and had joined our team. We all hung out for dinner and the meet and greet.


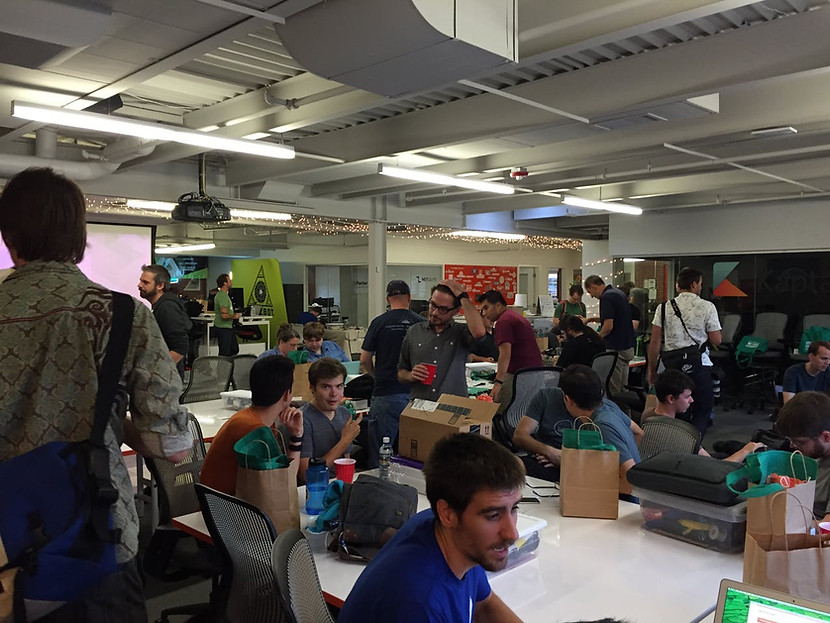
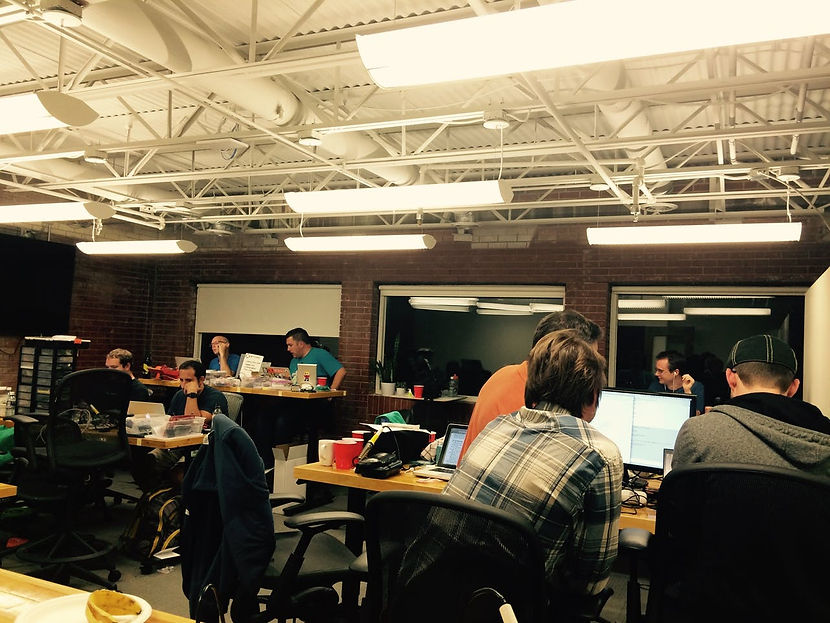
We knew how many people were attending but the space and event were larger than we expected.
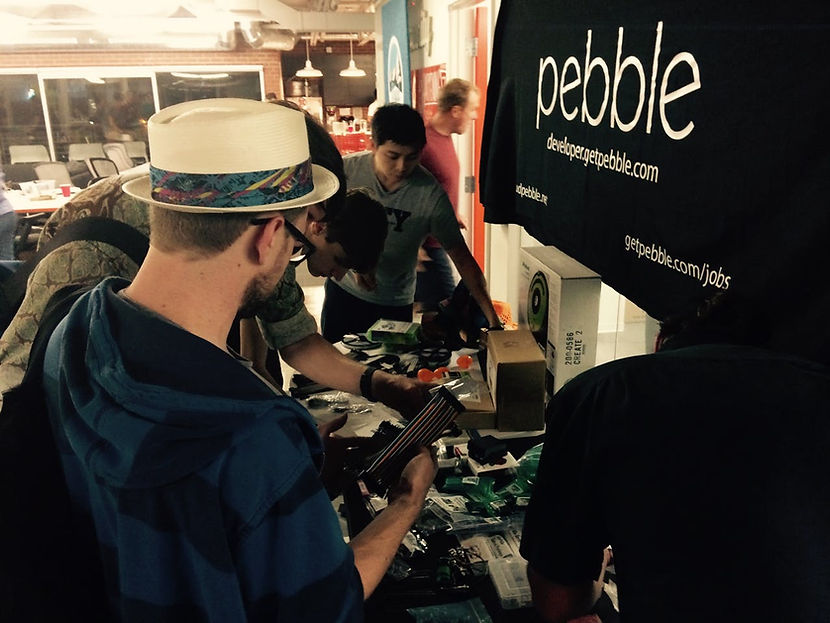
There was also a fantastic “treasure chest” table of development parts such as GPS receivers, LED light strings, Roomba sans vacuum, and a rubber duck.
We grabbed what we thought we needed (another team snagged the duck) and headed down to the 2nd floor to set up for the weekend.
At at little after 8pm we were unpacked and mostly set up.

At 9pm the presentations started.
The first was from Brian Gomberg from Pebble with a crash course on SmartStrap and the SmartStrap protocol. His presentation and the Q&A really helped us understand how we could implement our idea.
At 11pm was Matt, also from Pebble, who talked about Pebble development, and showed off some of the projects he had worked on internally as proof of concepts. One of Matt’s projects was an audible notification Smartstrap on a breadboard.
So…. maybe our idea wasn’t that original.
This started the typical midnight hackathon pivot that a lot of teams experience.
We opted to modify and expand our original idea and make an intelligent dock using the Smartstrap interface. It’s hard to hear the vibrations of a docked Pebble, so our intelligent dock would make a sound when an alarm or notification happens, and some other stuff that was a bit hazy as it was very late, especially if you started the day in Atlanta.
Time to get some sleep!
Saturday:
We arrived sometime after 7am to a mostly empty building. A lot of the other teams were local and worked late the first night while we got around 5 hours of sleep, catching up from our trip.

We had some challenges at first with the revised project.
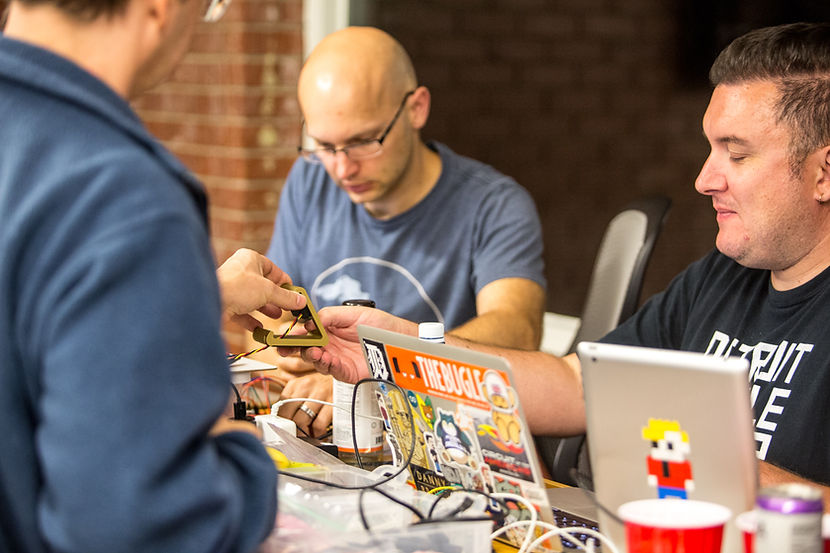
David and Jeremy were both a bit rusty on C. David has never coded for a Pebble, and neither had written for Arduino. Working together, they were able to fill in the blanks.
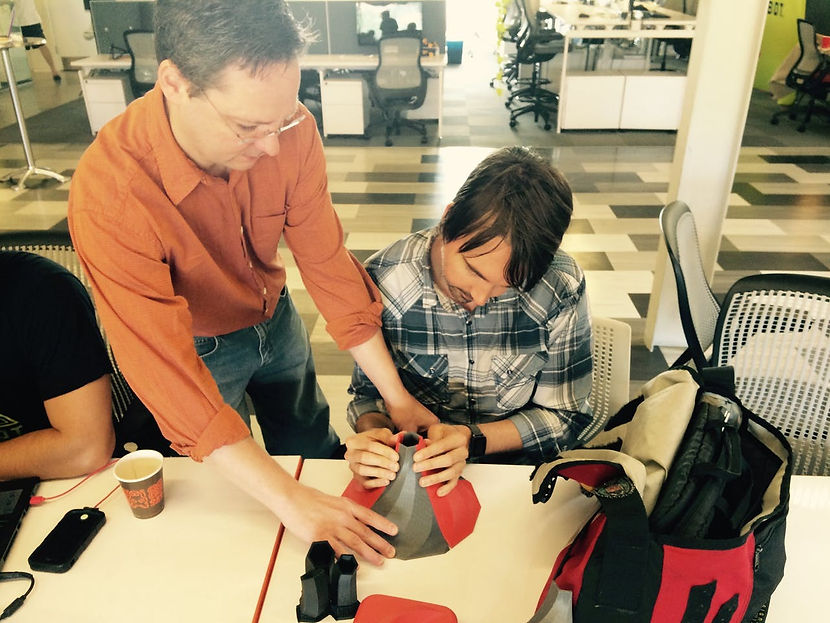
David and Jeremy initially tried to implement Sleepeasy with the Teensy. Pebble communication worked well, but hooking it up to the sound shield proved tricky. The code for the Teensy board was incompatible with the old code we had for the sound shield.

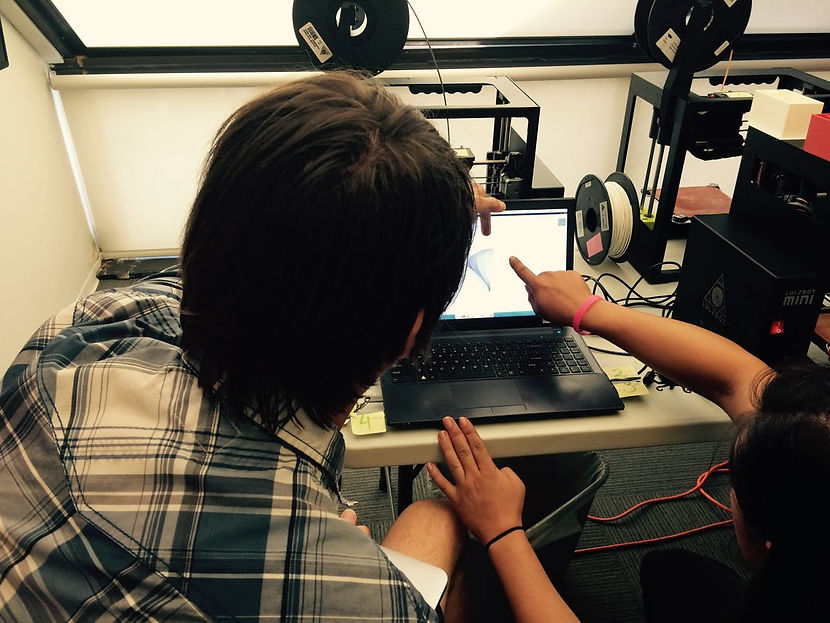
Pebble Time on a modified TimeDock, talking to a Teensy board visible on the left.
We solved this by switching to an Aurduino Uno, but it’s software-implemented serial didn’t play well with Pebble. All of this cost us time.
Technical sidenote: Pebble communicates over a single-wire 1.8V active-low serial line. The Aurduino Uno uses 5V push-pull software serial. Uno has one hardware port, but it’s used by the USB interface which we needed to download code.
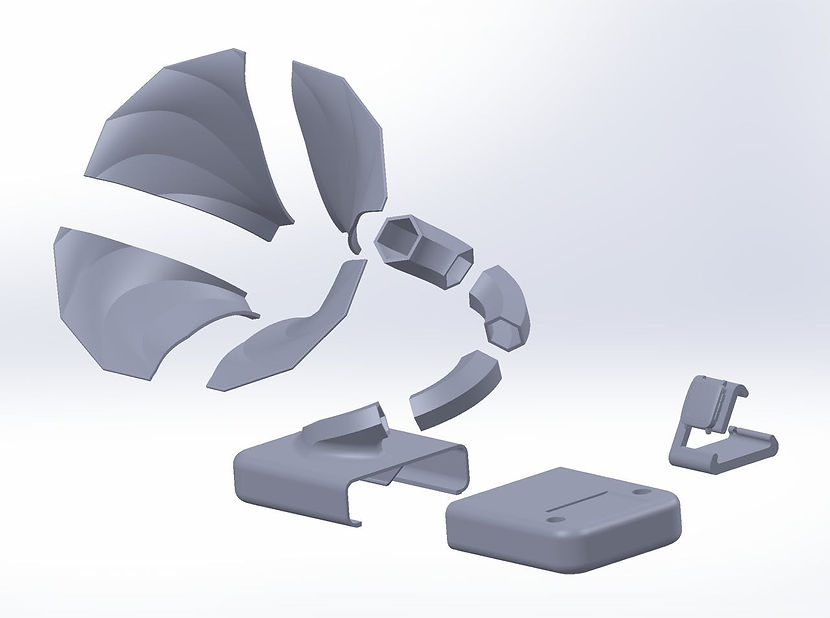
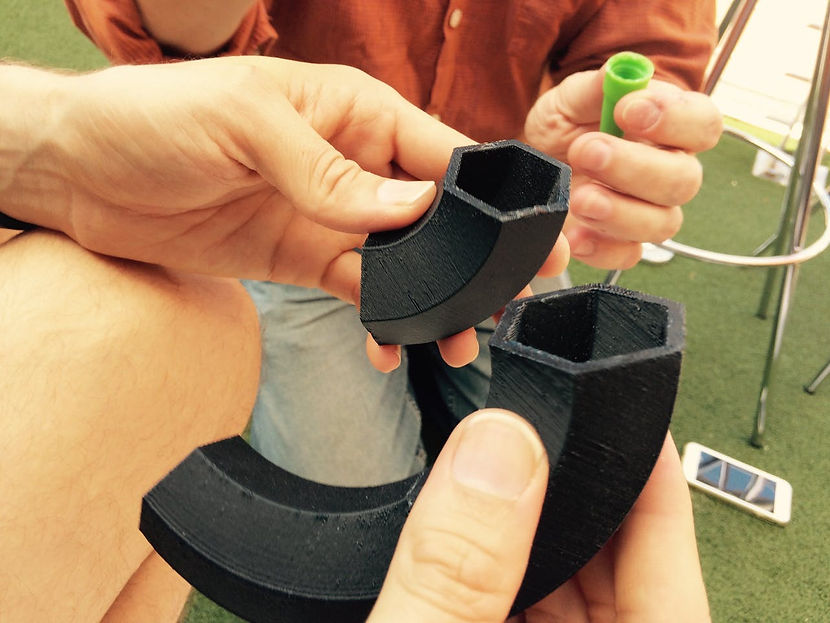
In parallel with hardware and software, Daniel concentrated on designing and building an enclosure for everything. The amplifier on the adafruit sound shield was feeble, which inspired Daniel to amplify the old-fashioned way: mechanically. What he came up with was a neo-gramophone, which certainly looked interesting. He started on the CAD design for the base and horn. Thinking ahead to how long it would take, he began 3D-printing parts before finishing the design.
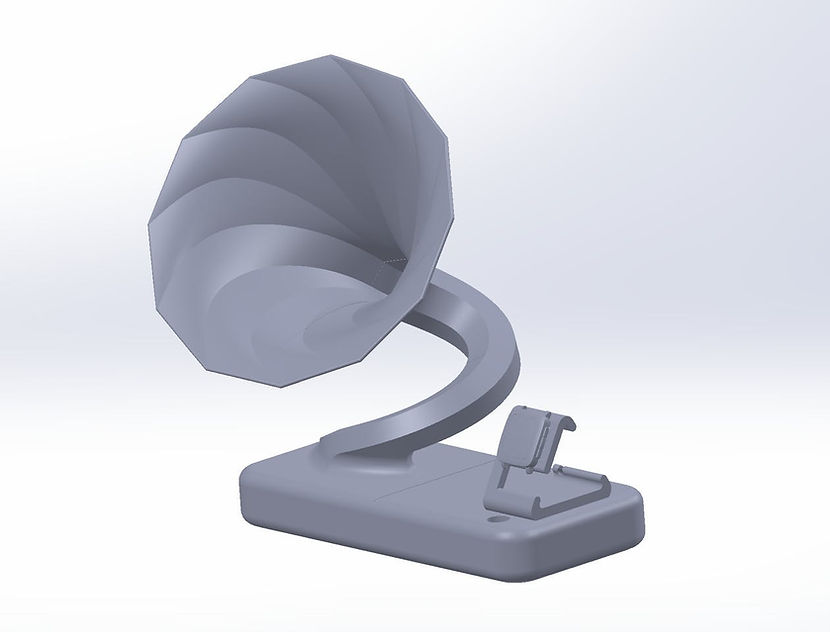
CAD design of the Sleep Easy dock
We were lucky to be in the same room as Detroit-based team #hackdads (Pebble Altimeter). They were clearly well-prepared and equipped. Actually, all of the other teams in the room (team Universal Mind (survival strap), team Aboriginal Nonentity Congressmen (LulzBlap), team Tack (Pebblbits), and team Wesley Crushers (RunTracker One)) seemed better-prepared and equipped than us.
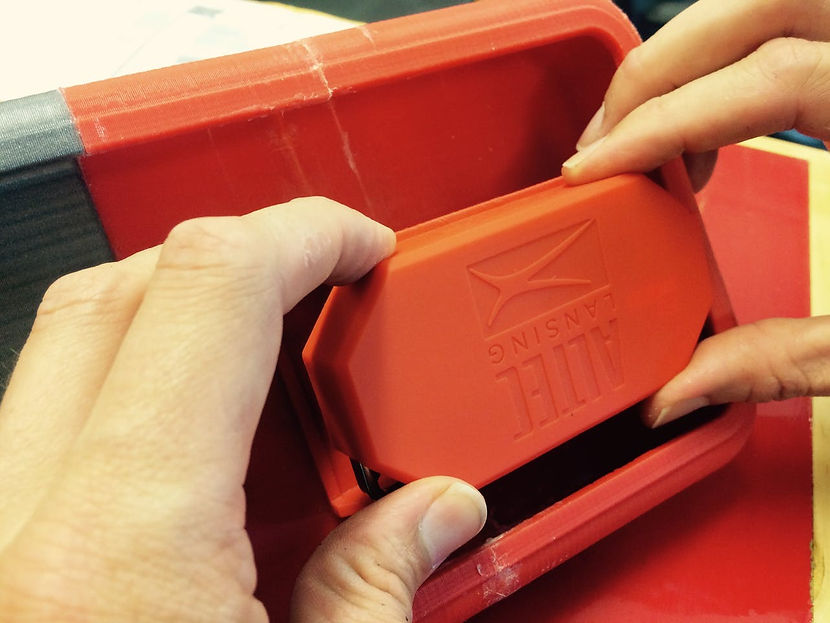
We loaned team HackDads a TimeDock, which they greatly appreciated for its reliable connection.
#Hackdads gets a Pebble TimeDock to help with their Pebble Altimeter development
They gave us some good advice and a logic level shifter, which we needed to make Pebble talk to Aurduino Uno.
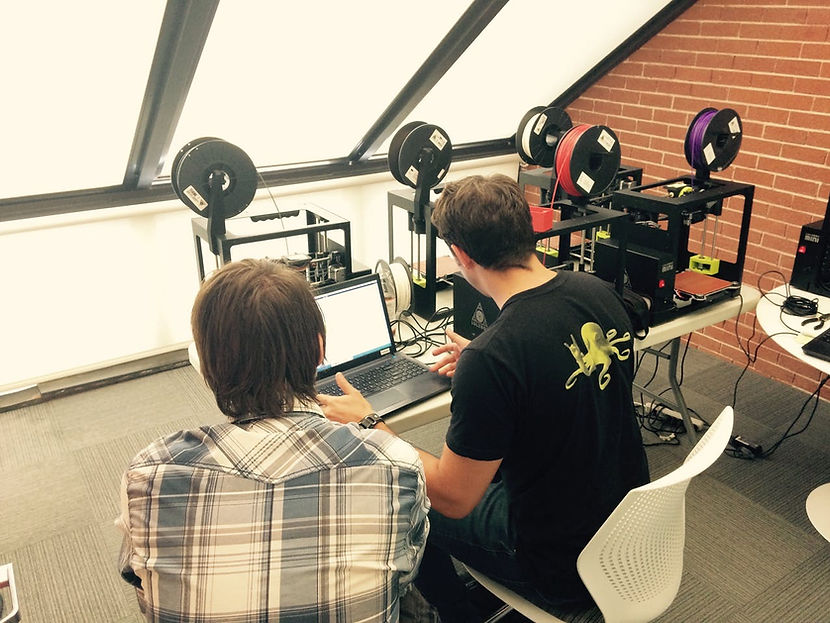
While David and Jeremy were trying to make the boards work, the 3D prints were taking a lot longer than Daniel anticipated. The LulzBot team were a great help but we stretched their printers to the limit. He designed it to be printed in 7 parts, but ended up printing it in 9.
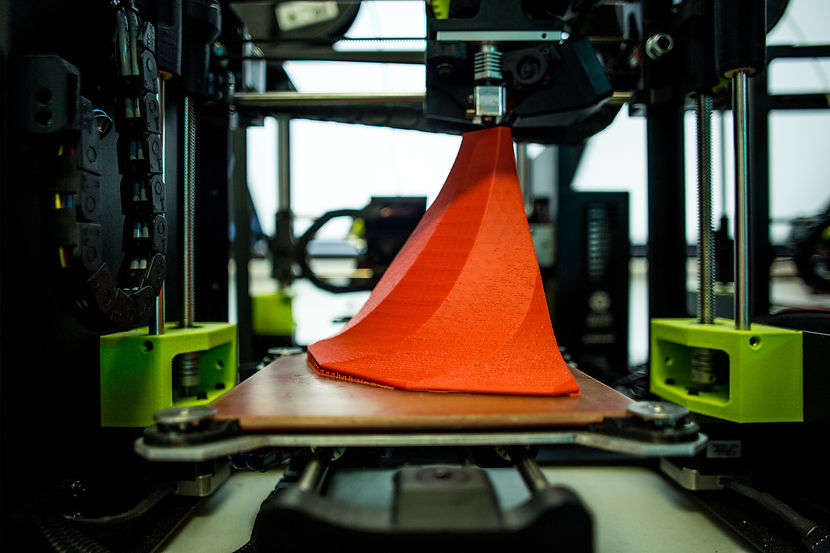
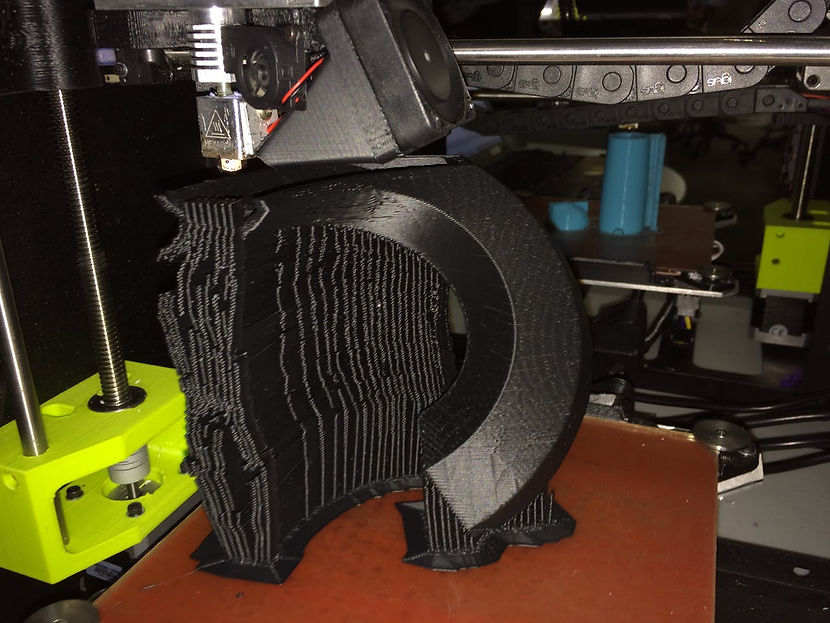
3D printing 1/4 of the amplifier horn on a Lulzbot Mini
After the first prints of just the horn started, Daniel left in search of a battery powered speaker with a line in that would fit into the 3D printed base.
We did not know it at the time, but we were about to acquire the most annoying speaker in the world.
“won’t-mention-a-brand-but-you-can-read-upside-down-in-the-photo-below, powering on!”… no one in the room hurt us, but it was well within their rights to.
Installing the worlds most annoying speaker.

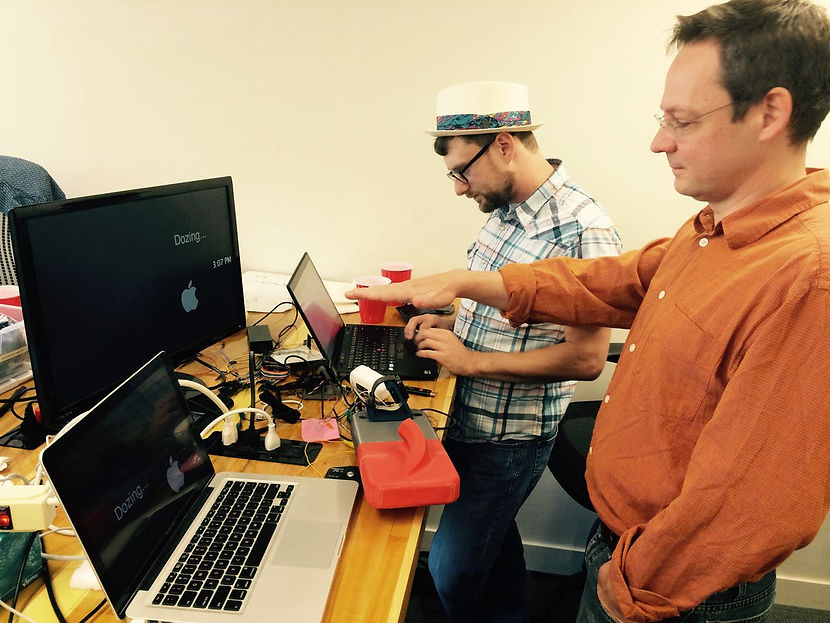
Things were going very smoothly though dinnertime and while we were quickly able to prove the concept, we did hit a snag when we figured out that some the sounds we had were in the wrong format! People, check your Codecs!

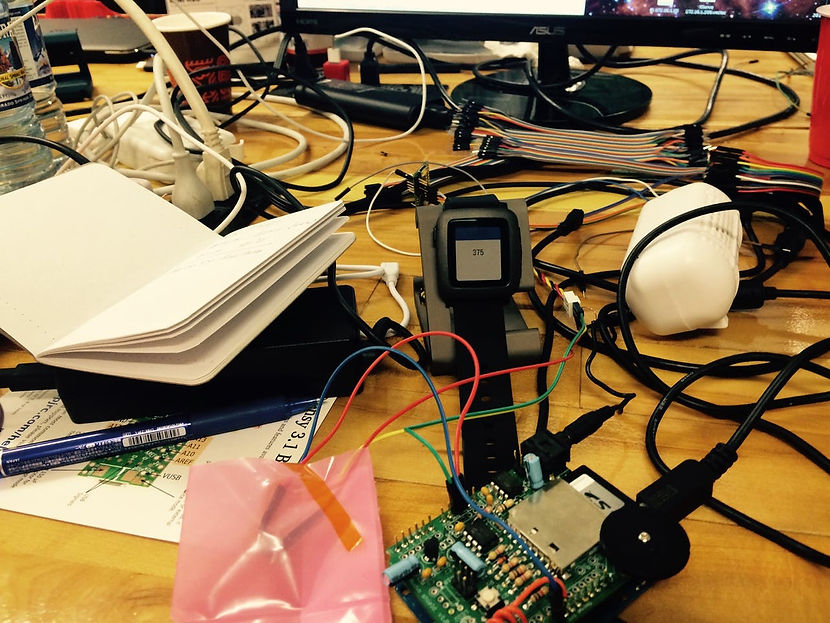
Pebble on TimeDock connected to Arduino through a level shifter, and to Adafruit sound board
After converting the files, the SleepEasy was born!
At least in a pile of parts and code talking to the room…. “Excellent” “Excellent” “Ten, forty-seven PM” “The time is” “Who is your Daddy and what does he do”
This was fantastic progress, but we wanted Sleepeasy to allow you to tell the time without having to turn on a light, press buttons, or touch the Pebble while it’s on the dock charging. If we had time.
One of the possible uses for this device would be on the nightstand to read the time to you at night so that you don’t have to put your glasses on to see the time.
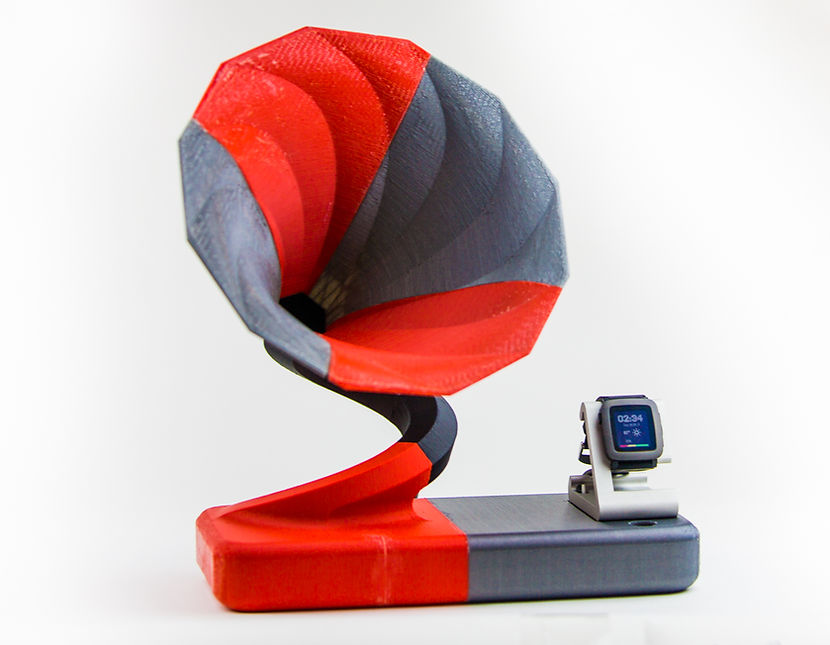
The Design
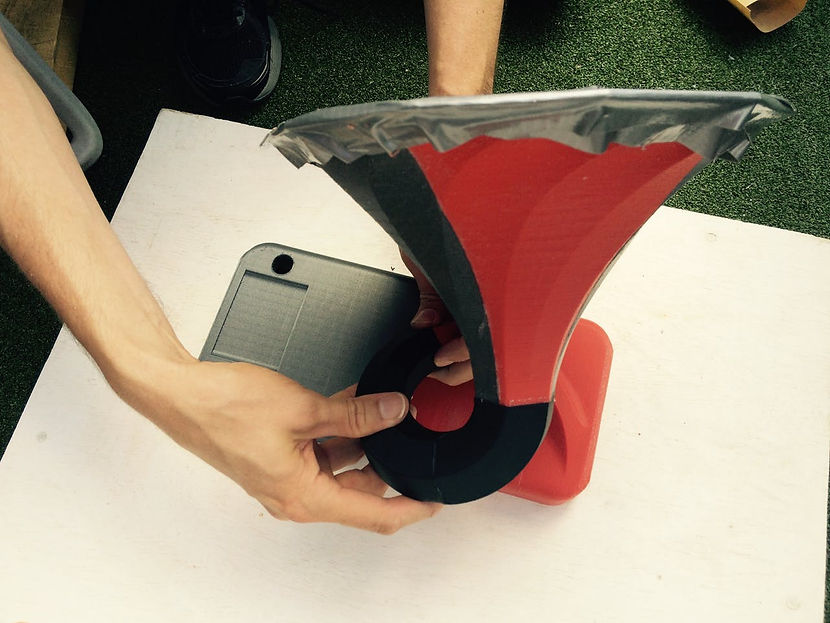
Inspired by a gramophone, the team loved the design. It’s a twist on the antique gramophone design, by adding a spiral, modern audio, and of course a Pebble Time and TimeDock.
Lulzbot was nice enough to provide 8 Lulzbot Mini printers with a 6x6x6 inch build volume. Unfortunately they did not bring a Taz printer that has a 12x12x12 inch build volume. Our design was large, and pushed the boundaries of 3D printing with a small printer. It had to be sliced into many smaller pieces that would fit within the build volume, and each piece maxed out at least 2 dimensions of the printer.
It took 24 hours straight to design and print all of the parts. Knowing that we didn’t have enough time to finish the design and then print, the design happened in stages such that parts could begin printing immediately as the design continued to evolve.
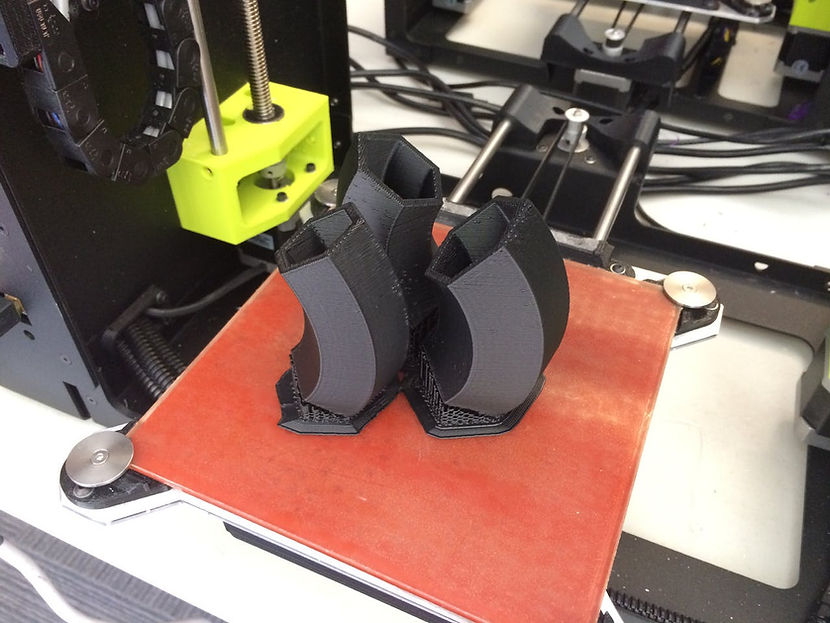
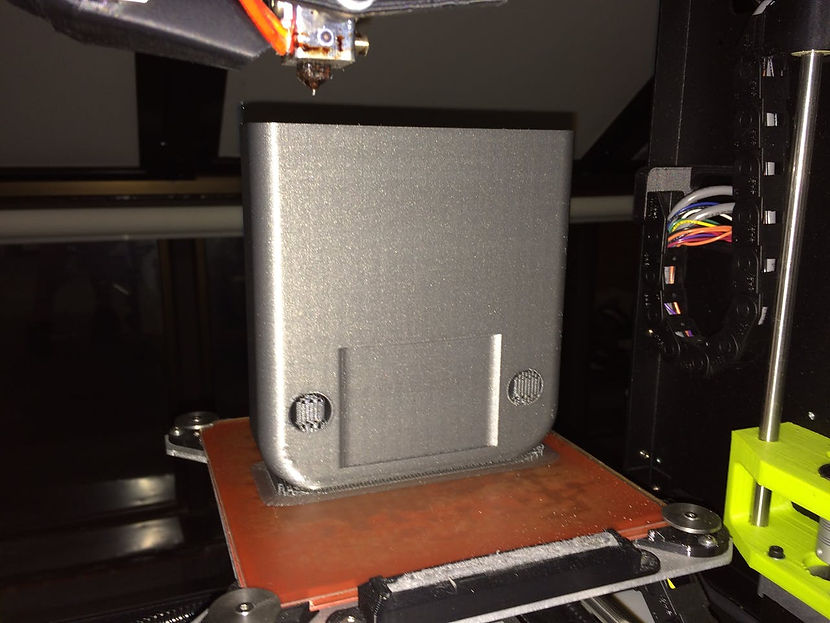
The first section to print was the bell of the horn. It was so large, it had to be sliced up into 4 sections. Each section was unique. The alternating color patterns were due to 2 printers with different filament being used at a time. The grey filament was PLA, while the Red was HIPS.
Silver PLA 1/4 Bell print in the early stages
Silver PLA bell 1/4 print


The neck of the horn was the most technically difficult part to print. It had to be oriented in a position such that it would not fill with support material, because sound has to pass through. The upright position required tall support material that did not print well at all. The model ended up warped and cracked.
The easy solution was to slice the neck into 3 pieces that could be printed vertically. These prints turned out great, and required no clean up, just a lot of gluing together.
The 2 pieces for the base were huge, and took about 6 hours each to print. Here’s the underside of the silver base
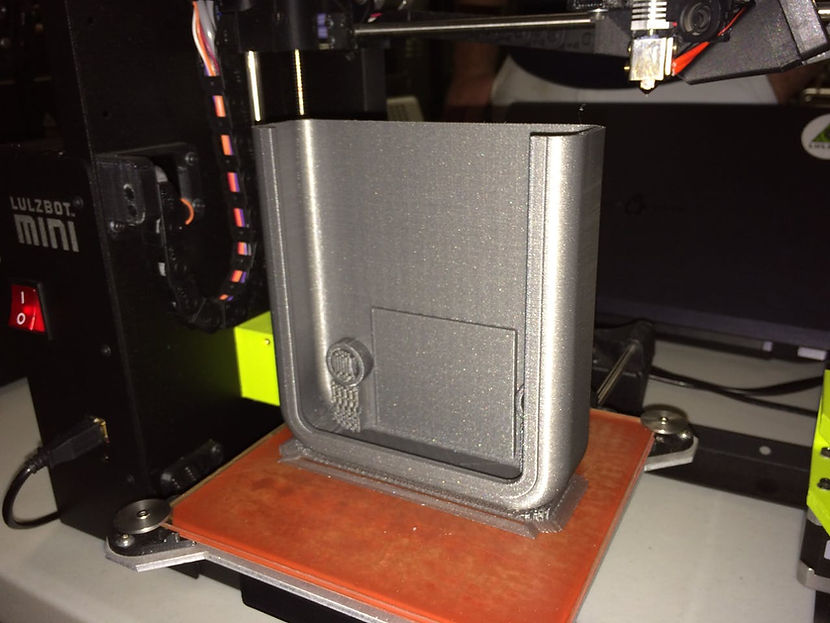
And the top side of the silver base. The 2 holes are potential locations for the ultrasonic range finder. We were not sure whether to put it in front of, or behind the TimeDock, so we left 2 options in the design. If the ultrasonic range finder was placed in the front hole, then the rear hole could be used for cable pass through.
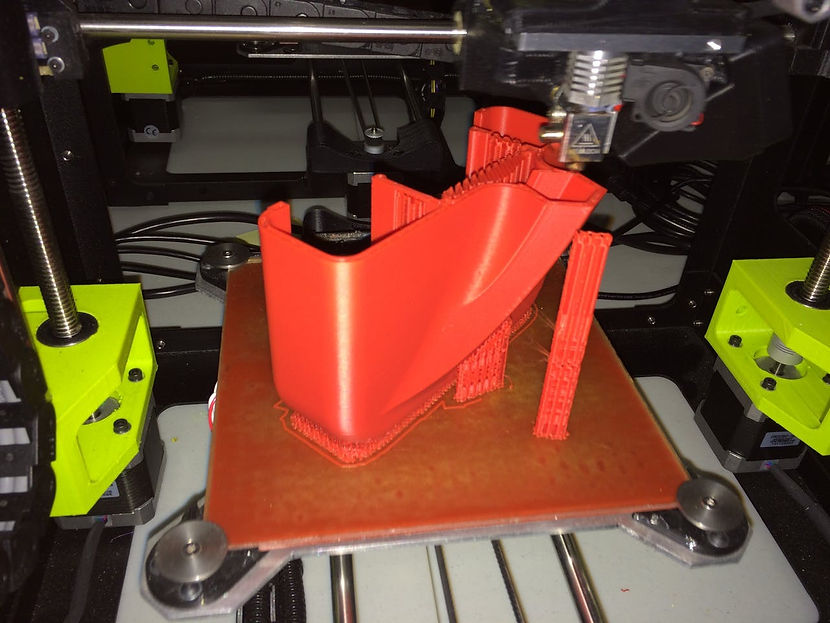
The left side of the base, printed in red, is a really cool part. Daniel designed both of these base pieces with minimal need for support structure in order to speed up print time. Due to the steep angle of the base of the neck of the horn, it required very little support material, and did not exhibit any sagging.
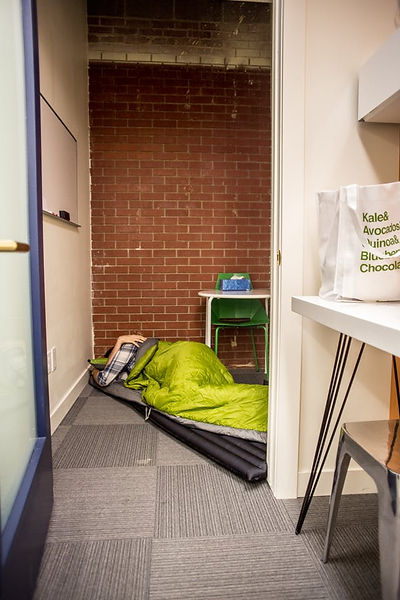
Daniel had to stay at the event overnight to monitor the progress of the 3D prints while the rest of the team called it a night.
Sunday:
The first thing we noticed was our development Pebble had dropped to 5% battery, from constant development (sendingcode to Pebble and getting logging data back).
After unloading and starting new prints at 4am, all the prints were complete by about 9am.
The red base piece had developed some severe cracks in it due to the stress build up. This seems to be a common issue with HIPS, that requires a different design or build strategy. In comparison, the silver PLA base piece printed perfectly.
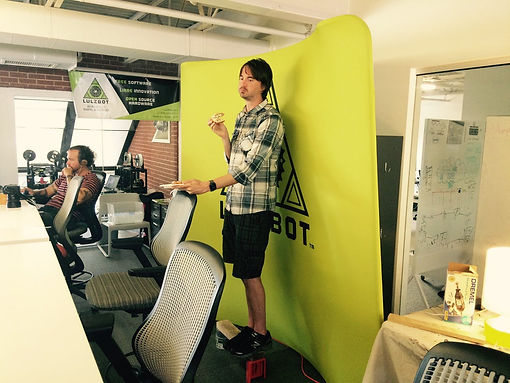
The cracks in the red base piece had to be glued back together, and since we didn’t have any large clamps, Daniel spent his breakfast standing on the part to compress the gaps formed by the cracks.

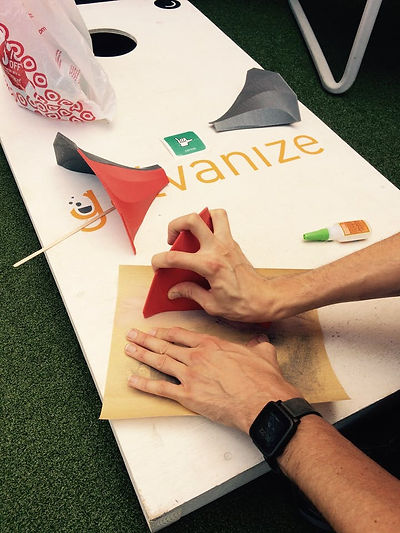
The parts for the bell of the horn being test fit and sanded. Ideally, the same material should be used for all the parts, because different materials have different properties. HIPS and PLA have different distortion during printing, causing issues with the fit. They also react differently to the glue, and do not sand evenly when sanded together. David and Daniel test fit the horn pieces together before gluing.
Once it came time to glue the parts together, we moved outside to the open air due to the strong smell of the glue.
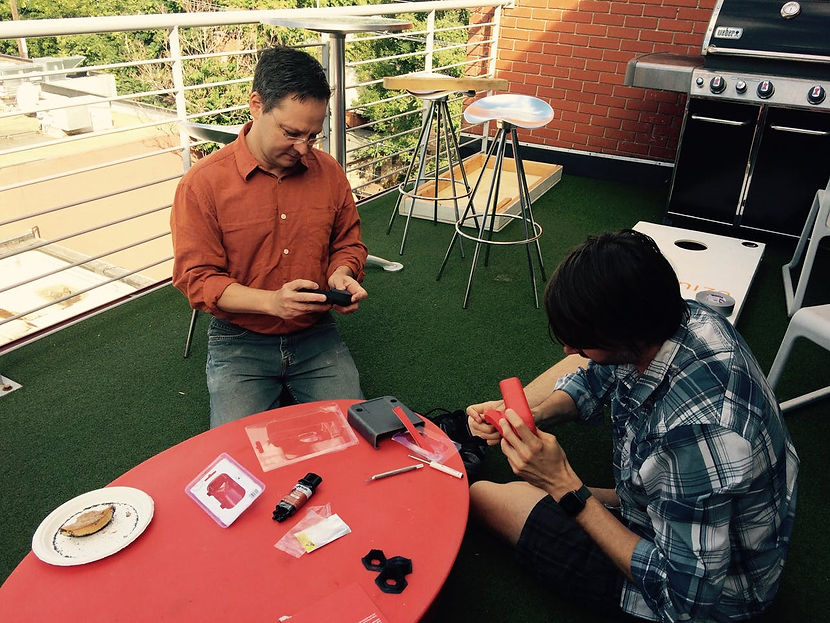
Once it came time to glue the parts together, we moved outside to the open air due to the strong smell of the glue.
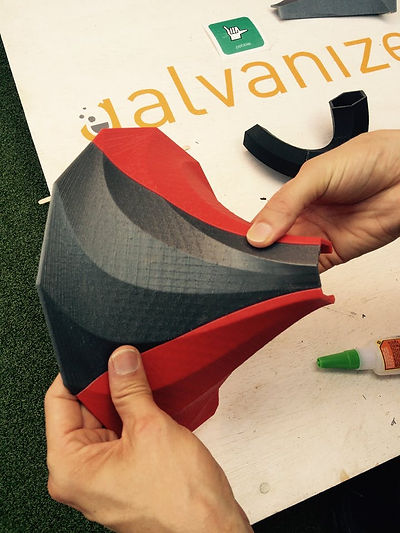
The pieces are fitting together nicely. The 4th piece was a little more difficult to squeeze in and hold while gluing, since 2 edges had to be glued and aligned at the same time.
The mating surfaces of the neck of the horn were sanded and glued together.
Duct tape kept the bell compressed while the glue cured. The neck was glued to the bell, and a connector attaches it to the base so that it can be disassembled.
The 2 base pieces are glued together, and the small self powered speaker snaps in perfectly.
We hacked the hacker notebook into a bottom cover for the base.

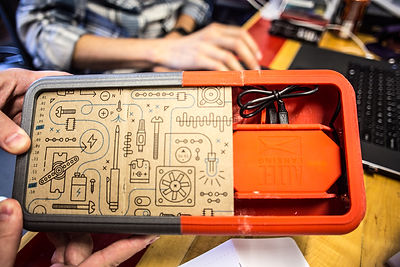
We hacked the hacker notebook into a bottom cover for the base.
By mid-afternoon we were closing in on getting the ultrasound sensor working reliably. As the deadline approached, you could feel the level of activity of all of the teams increase to the frenetic. The volume and speed of conversations also gradually increased, and when we thought it had peaked it went further, reflecting the determination of the sleep-deprived teams. Not immune to the pace, we were quickly able to make everything work.
Though we ran into a few bumps, we found we were easily able to add all the features we wanted:
It looks cool and speaks the time when you hold or wave your hand over the docked Pebble for a third of a second.
The Aurduio sends a request to the Pebble for the time, then the Pebble replies with a request to say the time.
The Pebble Time watch asks the Arduino to say things (play WAV files) when events happen on the watch.
We programed in sounds for when the watch docks and undocks, and when notifications occur, like a text message.
The Aurduio sends a request to the Pebble for the time, then the Pebble replies with a request to say the time.
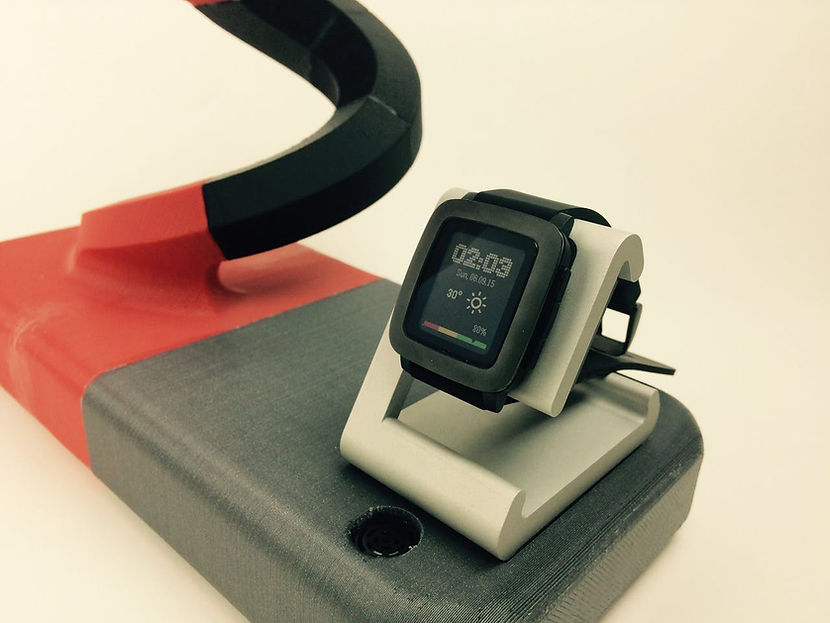
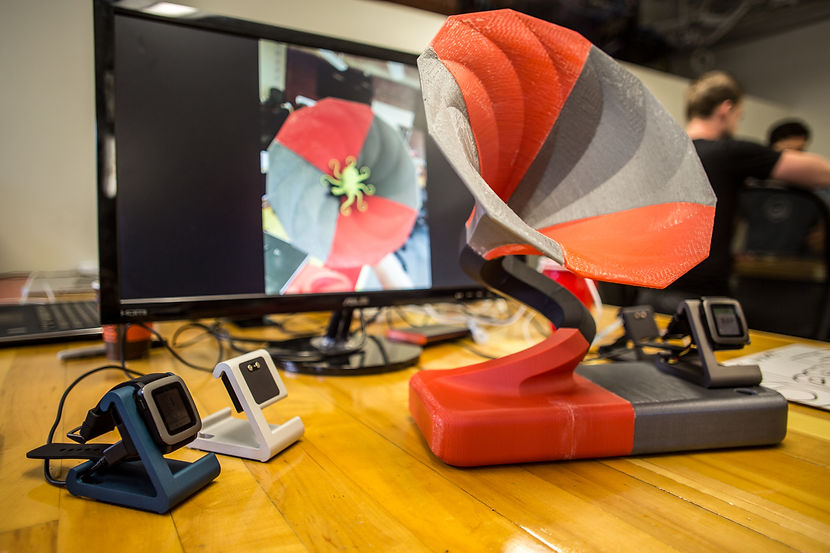
The finished project, less than 48 hours from start!
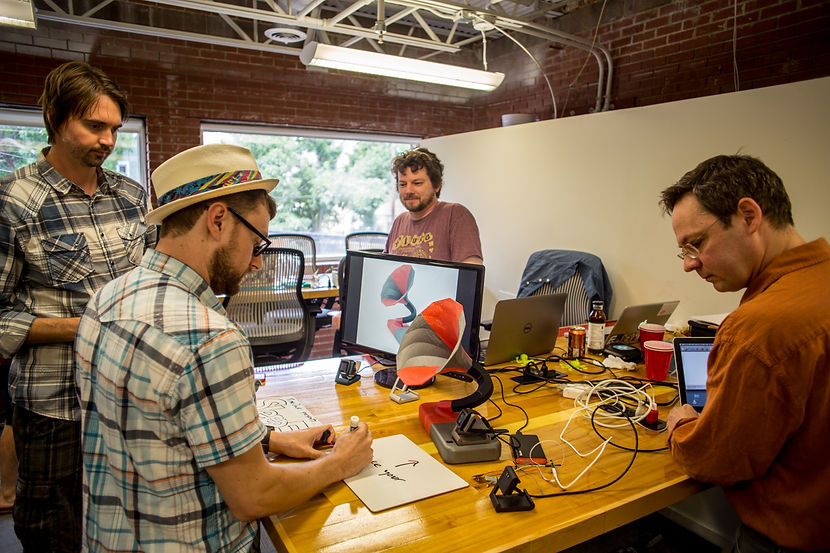
Presenting to the Judges
Congratulations again to HackDads!
They said the TimeDock helped them get to the final 8 and win for Best Pebble Integration.
We are very happy for their success, and thankful for their help.
Check out their project, the Pebble Altimeter Smartstrap.
https://www.hackster.io/team-hack-dads/pebble-altimeter-smart-strap

This was a great hackathon, everyone wanted to know what the other teams were working on and between Pebble and the other hackers, there was a lot of support.
Here is the official photostream of the event:
https://www.flickr.com/photos/23rdstudiosboulder/sets/72157657803685160/
Thanks for having us out!
#deadtired