Cheapest DIY Stainless Cable Deck Railing Pt.6: Install Cables On Stair Railing
- Daniel Soulbuilt
- Aug 24, 2021
- 3 min read
Updated: Jun 19, 2023

Watch the Youtube Video:
Part 6 in my series on installing stainless cable deck railing on the cheap. In this video, I show how to install the stainless cable on stair railing. I break down the most difficult part of the whole cable railing installation due to the angled holes. I show how to measure the position for each cable and mark the holes for drilling. I also show how to use the drill angle guide to drill the holes at the right angle, and how to use an extra-long drill bit to complete the holes. Then I show how to run the cables, crimp on the swage ends, and get them ready to tighten.
This is the stainless cable deck railing hardware that I purchased.
This was the cheapest price that I could find and appears to be the same quality as the hardware sold by other brands on Amazon.
$219.77 for 1000 Ft 1/8" 1x19 Cable Rail Korean Made Wire Stainless Steel 316
If you don't need 1000ft of cable, try this alternate brand of 1x19 cable that has many different lengths available
$96.99 for 100 Pack Stainless Steel Threaded Terminal Tension Stud End for 1/8 Cable
$98.99 for 100 Pack Stainless Steel Stemball Cable Dead End for 1/8 Cable
$9.99 for 100 Pack 1/4 Inch Stainless Flat Washer
The total Cost for hardware was only $425.74 which is $1000's less than buying from cable railing retailers. The main savings are the cable terminals. Cable railing retailers sell their terminal sets at prices upwards of $10-$15 a pair. The ones I bought cost less than $2 a pair. That adds up quickly when you have a lot of deck corners that weren't designed for cable railing, and therefore need to terminate the cables at each corner.
Most Amazon stainless cable sellers are selling the 7x7 1/8in cable instead of the 1x19 configuration. The 1x19 is preferred for cable railing because it has larger individual strands. That makes it more rigid, stronger, and more aesthetically pleasing. It was more difficult to find, but I finally found this high quality, made in Korea, stainless 1x19 1/8in cable. https://amzn.to/3hgJFTM It only cost $220 for 1000 ft, making it $0.22 per foot, which is less than half the price that cable rail retailers want to sell their cable!
Additional installation tools that I had to buy:
- Titan 11980 Hydraulic Cable Crimper https://amzn.to/2DPUptF - This tool comes with a large set of dies, so I will be able to use it in the future for crimping electrical connectors and swaging cables. Cable railing retailers will rent crimpers, but the rental cost is as much as buying this tool.
- Cable Cutters - Most of the cable sellers on Amazon are trying to sell the small cable cutters, like these: https://amzn.to/2WKvcHA However, I found those to be very difficult to cut the 1/8in 1x19 cable without pinching your fingers. I think the larger strands make it difficult to cut. Therefore, I would recommend the larger 13" to 18" cutters, like these: https://amzn.to/32PBCtb
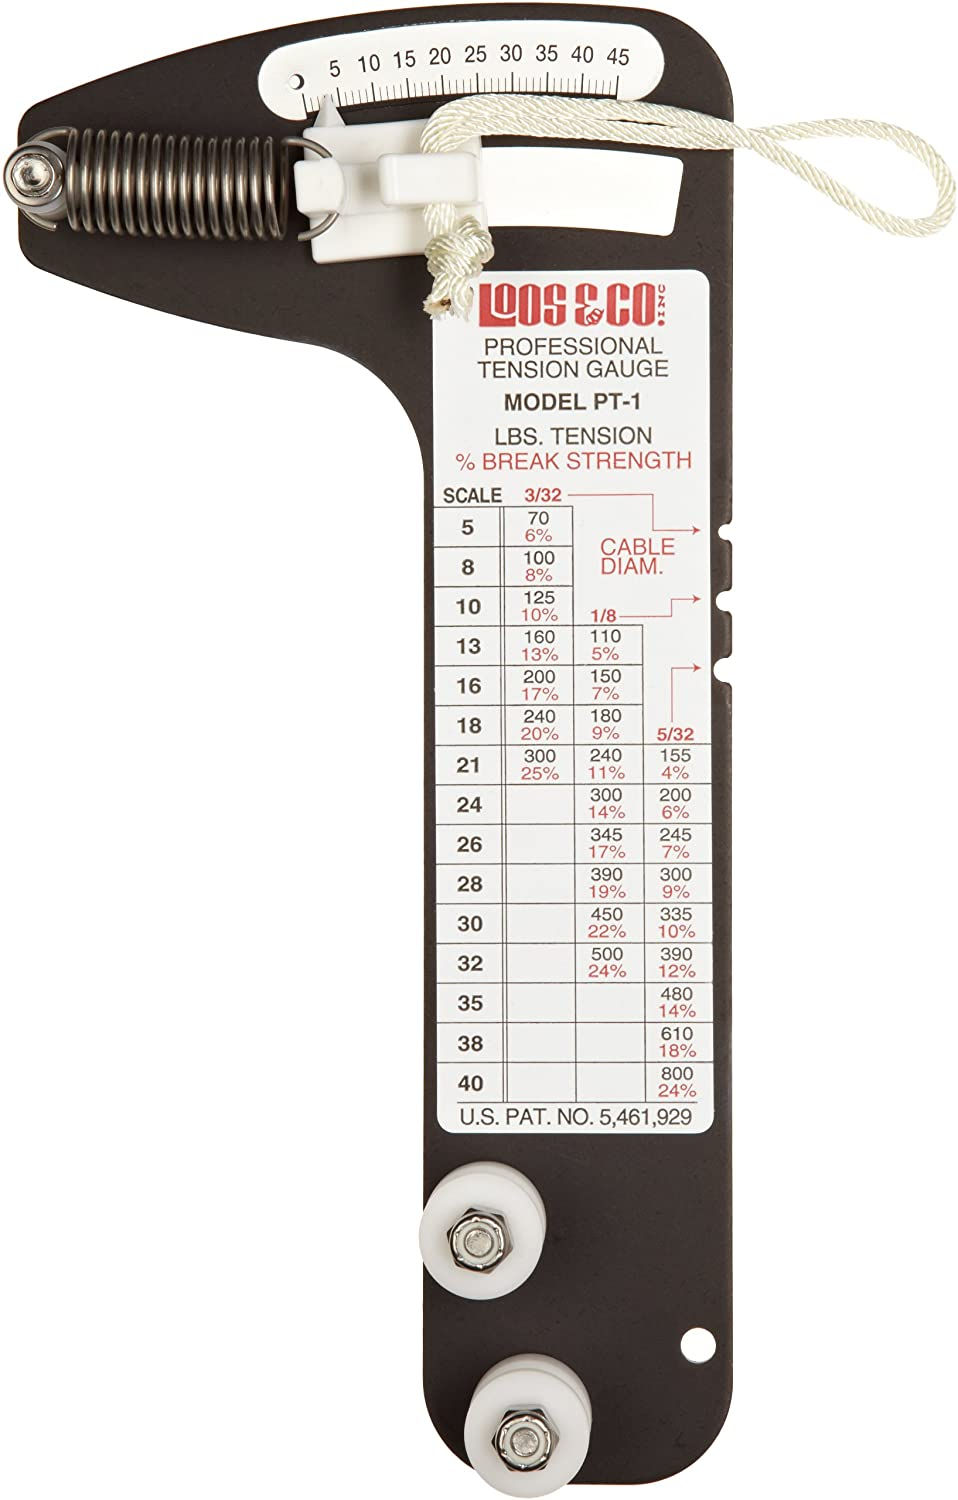
- Cable Tension Gauge - Although not absolutely necessary, it will help you tighten the cables consistently to all the same tension. 1/8in stainless cables have to be tensioned between 150-300lbs to prevent a 4-inch sphere from passing between the cables. The tension required to meet that specification will vary depending on the spacing of the posts.

These are tools that are used to drill the wood posts.
Details can be seen in this Video Pt.3:
- Wolfcraft 4525404 Multi-Angle Drill Guide: https://amzn.to/3fMw2v5 - IRWIN QUICK-GRIP Bar Clamp, One-Handed, Medium-Duty, 12-Inch: https://amzn.to/2CSC6nq - Ryobi 18V Cordless Brushless Drill: https://amzn.to/39dsFef - 1/4in Diameter by 12in Long Drill Bit - A standard drill bit can barely make it through a 4in post. The longer drill bit is neccessary when drilling at an angle, like for posts on the staircase.
Check out the whole series of stainless cable railing videos in this playlist: https://www.youtube.com/playlist?list=PLJZvr9eL7PeyHeBj51cTain6uAiDfz9lX
▼ Video Timeline
0:00 - Intro
0:30 - Spacing and angle measurements
1:40 - Marking the hole locations
4:16 - Drilling the holes with angle guide
5:10 - Drilling holes with long drill bit
7:10 - Hole protector ferrules
8:15 - Running the cables
9:24 - Crimping swage ball end
10:49 - Cut cable to length
11:41 - Crimping the swage threaded end
12:27 - Install angle washer and tightening nut
13:10 - Watch the other Videos https://www.youtube.com/playlist?list=PLJZvr9eL7PeyHeBj51cTain6uAiDfz9lX
The products shown here were purchased by me with the intent to use. I did not receive any free items, and I am not being paid or compensated for this review. The video and description may contain affiliate links. If you click on a link, I may receive a commission. Money earned helps to support my channel and bring you more informative videos about engineering, crafting, and DIY.


In this video, I demonstrate how to install stainless steel <a href="https://mywelders.com/how-much-is-cable-deck-railing-installed/">cable deck railing installed</a> on a stair railing, focusing on the trickiest part—drilling angled holes. I show how to measure, mark, and drill the holes using a drill angle guide and an extra-long drill bit. Then, I cover running the cables, crimping the swage ends, and preparing them for tightening.